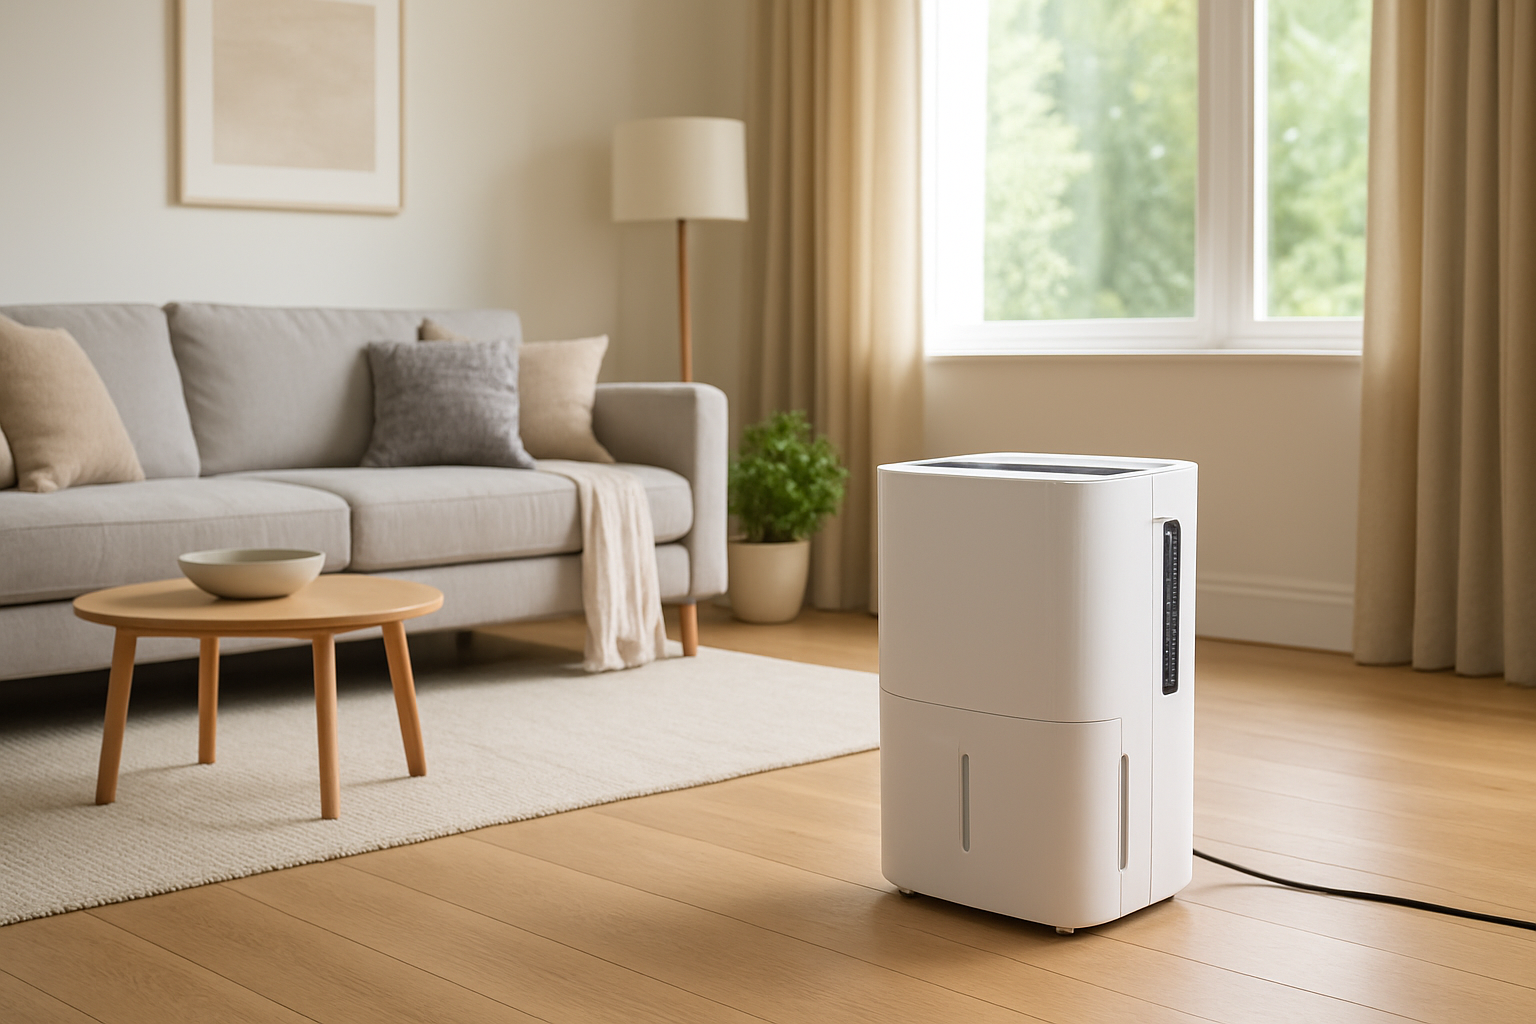
Learn how to diagnose and fix dehumidifier leaks caused by drainage blockages or overflow, preventing water from pooling on the floor.
Dehumidifier Leaking On Floor? Drain Failure
Quick Answer
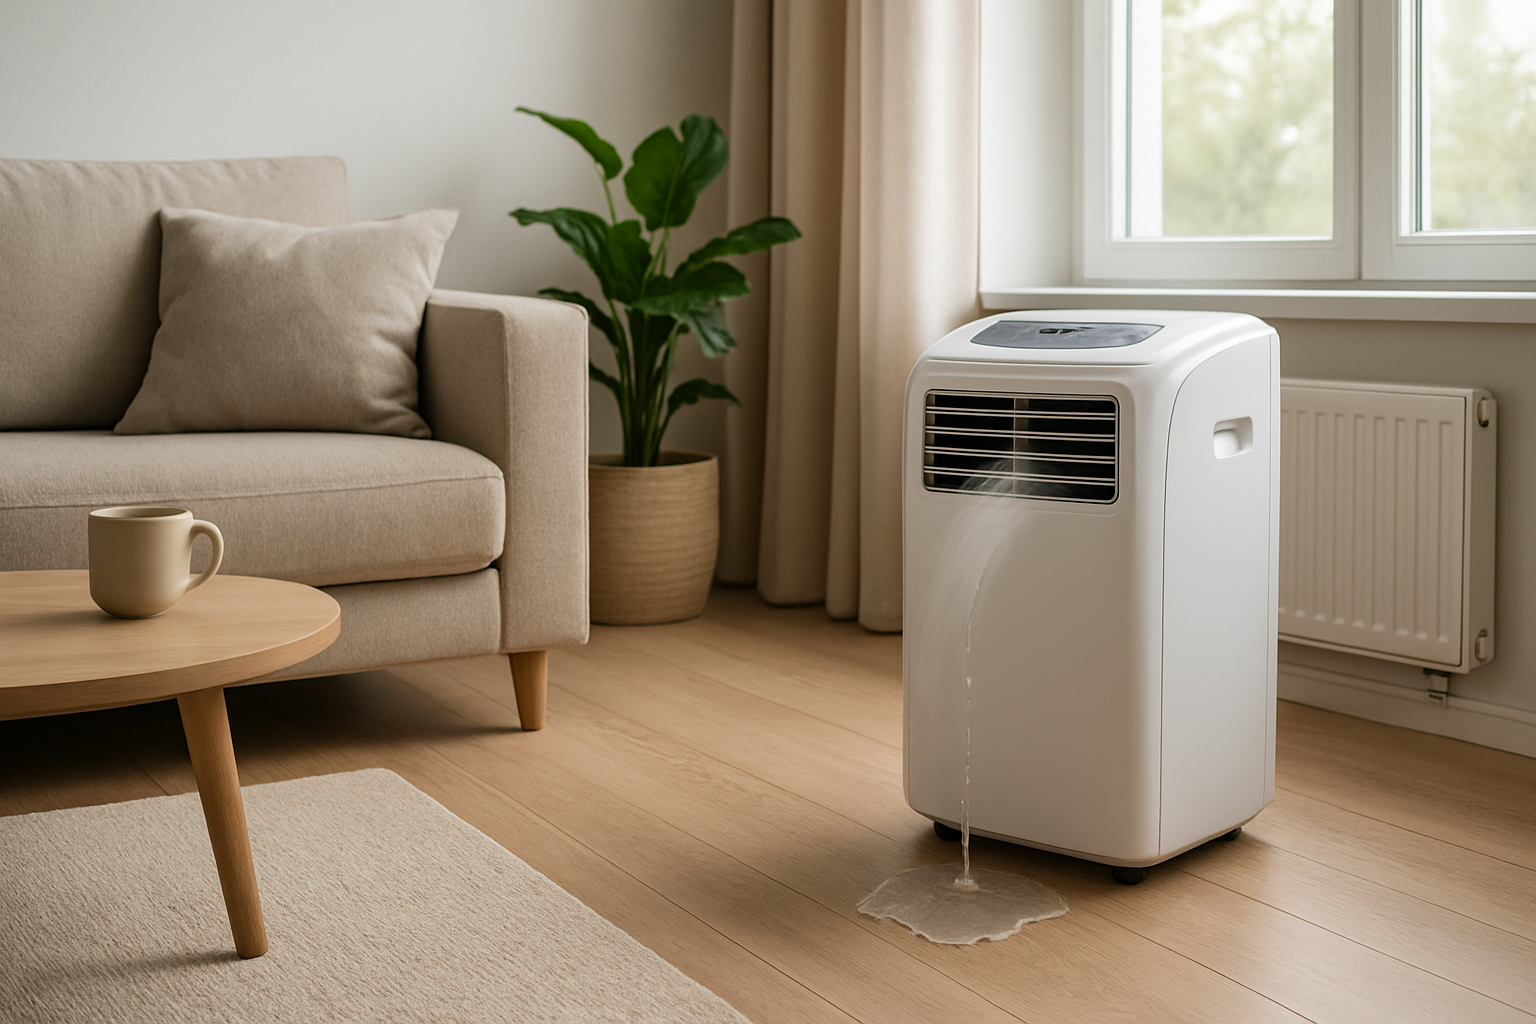
If your dehumidifier is leaking onto the floor, the most likely cause is a blocked, kinked, disconnected, or poorly sloped drain path that makes the unit overflow instead of draining. First check: remove the bucket (or locate the drain hose) and confirm water is actually exiting the hose into a drain with continuous downhill slope and no sags or clogs.
Identify the Comfort Pattern First
Use the leak pattern to narrow the failure mode. Dehumidifier water is not random; it follows humidity load, airflow, and drainage conditions.
Happens mostly on humid/rainy days or after showers, cooking, or laundry: higher moisture removal increases condensate volume and exposes marginal drainage. Overflows show up when the unit is working hardest.
Happens only after several hours of running: steady accumulation points to a slow drain restriction or a hose that can not keep up with the condensate rate.
Happens quickly after turning on: often a disconnected hose, mis-seated bucket, cracked bucket, or internal leak from a shifted float or drain fitting.
Leak is at the front/side of the unit: commonly bucket not seated, float stuck, bucket cracked, or water sloshing out of an overfilled bucket.
Leak is at the back where the hose connects: drain hose fitting loose, hose split, hose kinked, or water backing up and spilling from the drain port.
Leak occurs even when the unit is off: usually a full bucket that was not removed or a hose that is siphoning/backfeeding from a higher drain line (rare but possible with improper routing).
Humidity still feels high while leaking occurs: water is being produced (the unit is condensing) but not controlled (it is not being directed to the drain). You may also notice musty odor because the floor and nearby materials are being re-wetted.
Airflow feels weak from the dehumidifier discharge: reduced airflow can drop coil temperature, increase water production and frosting risk, and create sudden meltwater surges that overwhelm a marginal drain path.
Doors closed vs open changes it: closed doors can raise humidity in a small room quickly, increasing condensate rate and making overflow more likely if drainage is restricted.
Vertical differences: if the basement floor feels damp and cooler while upper areas feel okay, the dehumidifier is doing heavy latent work down low; any drain problem will show up as floor wetness first.
What This Usually Means Physically
A dehumidifier is an indoor evaporator coil that intentionally runs cold enough to condense moisture from air. That moisture becomes liquid water on the coil and is directed into a collection channel, then into a bucket or drain connection.
When drainage is restricted or the outlet can not keep up, water level rises inside the collection path until it finds the lowest escape point. That escape is often the base pan seam, the bucket opening, or the drain port area. The physics is simple: condensate production is driven by humidity load and airflow across a cold surface; discharge is limited by gravity flow through a hose and any restrictions. If inflow exceeds outflow, overflow happens.
Overflow is most common during high humidity periods because condensate rate climbs rapidly. A hose that drains fine on mild days may fail on muggy days because a small kink, slime buildup, or uphill section becomes the bottleneck. If airflow is reduced (dirty filter, blocked intake), the coil can run colder than intended, sometimes forming frost. When that frost melts, it releases a sudden burst of water that can overwhelm a partially blocked drain path and leak onto the floor.
Most Probable Causes (Ranked)
1) Drain hose kink, sag, or uphill section causing backup
Clue: leak starts after a few hours, especially when the hose runs across the floor, behind shelves, or over a threshold. Any dip that creates a water trap will slow gravity flow.
2) Blocked drain hose or drain port (biofilm, debris)
Clue: little or no water reaches the drain even though the unit runs and basement humidity is high; leak worsens on very humid days.
3) Bucket not seated correctly or float shutoff not engaging
Clue: leak is near the front/side; bucket looks not fully flush, or unit continues running as bucket fills; water appears around the bucket opening.
4) Cracked bucket or leaking bucket seam
Clue: bucket fills but leaves a trail underneath; leak continues even when bucket appears aligned; visible hairline crack or drip point when lifted.
5) Loose or cross-threaded hose connection at the drain outlet
Clue: leak localized at the back connection; water is present around the fitting; tugging the hose changes the drip rate.
6) Coil icing followed by meltwater surge overpowering a marginal drain
Clue: airflow feels weak, unit runs long cycles, occasional frost seen on coil (behind filter), then sudden puddle after a defrost/melt period.
7) Unit not level, causing water to miss the collection channel
Clue: leak appears even with a clear hose and proper bucket; moving the unit slightly changes where water appears.
8) Internal distribution tray/pan shifted or damaged
Clue: water leaks regardless of bucket/hose setup; leak location is inconsistent; problem started after the unit was bumped, transported, or tipped.
How to Confirm the Cause Yourself
These checks rely on observation and simple positioning. Do not open sealed refrigeration components.
Confirm the output is actually draining
Run the unit for 20–30 minutes in a humid area. If using a hose, watch the hose end at the drain. You should see periodic drips or a small steady stream. If the unit is running and humidity is high but the drain end stays dry, assume restriction, slope, or a disconnected internal path.
Check hose routing for gravity flow
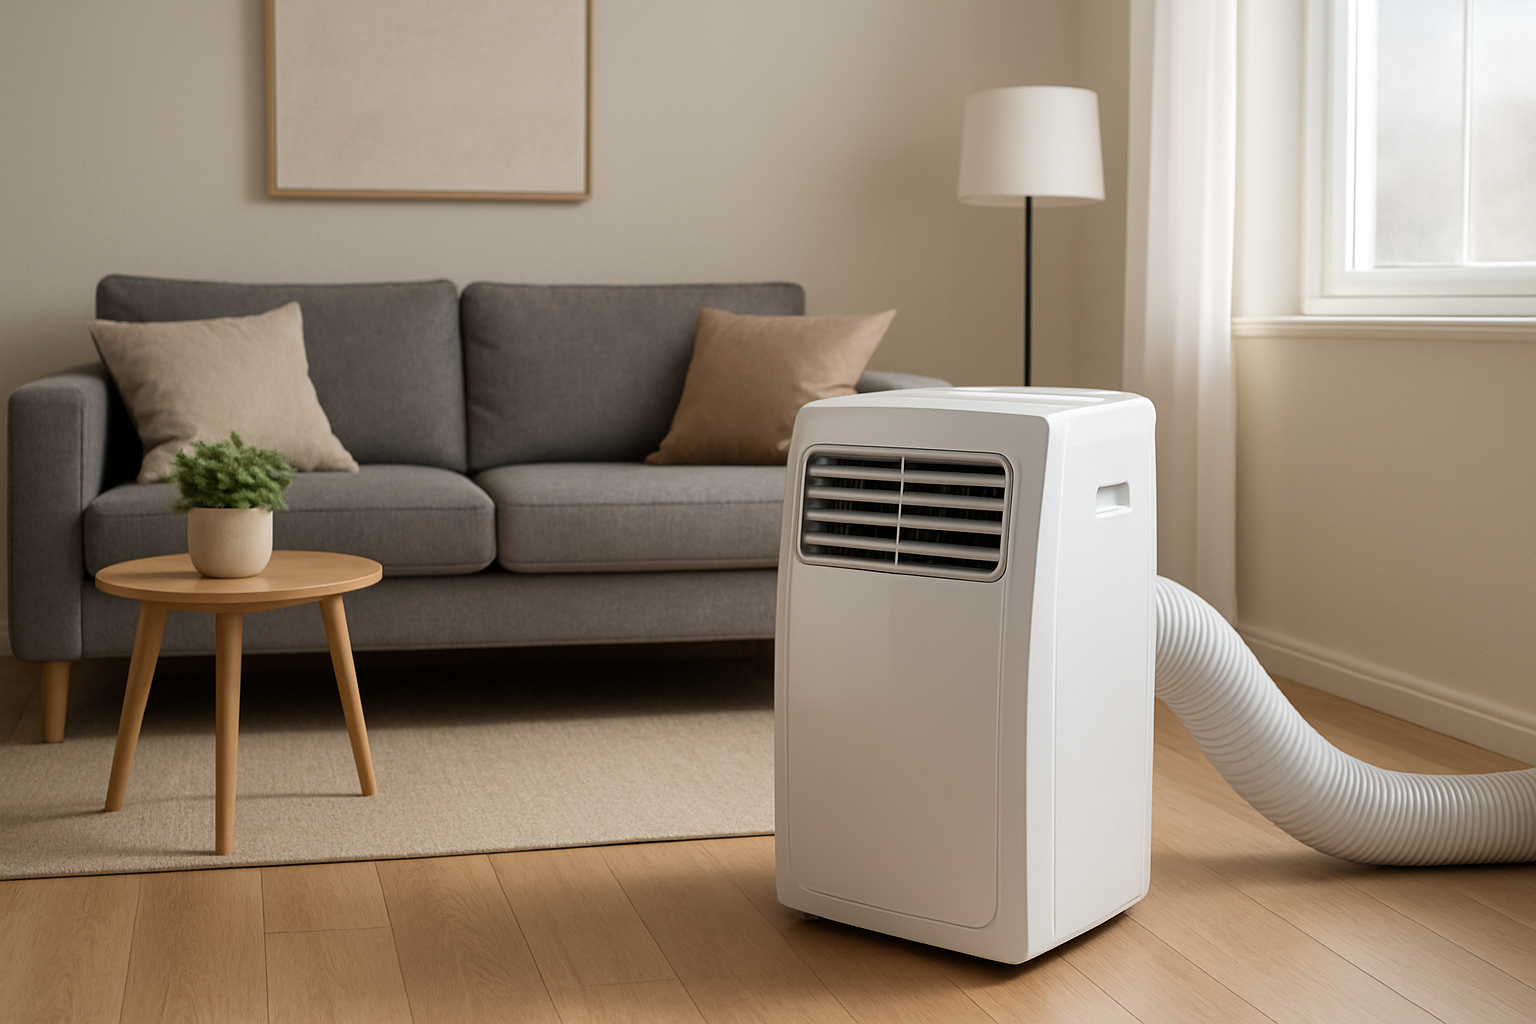
Follow the entire hose run by hand. Look for kinks, crushed sections, and low spots where water can sit. A proper run is continuously downhill to the drain with no dips. If you lift a sag and you suddenly hear water move and the leak slows, the sag is the failure.
Locate the first wet point
Dry the base and floor. Place paper towels around the front bucket area and the rear drain connection. Restart. The first towel that gets wet identifies whether the overflow is from the bucket interface or the drain port area.
Bucket seating and float behavior
Remove and reinstall the bucket slowly until it sits fully flush. Gently nudge the float mechanism (if accessible at the bucket area) to ensure it moves freely. If the unit continues running with the bucket removed, the switch/float system may not be engaging, increasing the chance of overflow.
Simple capacity stress test
On a humid day, run the unit with the hose going into a visible container (like a larger pail) for 30 minutes. If you get strong drainage into the container but still see floor leakage, the leak is more likely at the bucket seal, bucket crack, or internal pan rather than a blocked hose.
Airflow check tied to icing risk
Feel the discharge air strength. If it is weak, check the filter for heavy lint and the intake for blockage. Weak airflow combined with long runtime increases the chance of icing and sudden meltwater. If puddles appear after the unit cycles off, suspect meltwater surge plus marginal drainage.
Level check
Observe whether the unit rocks on the floor. A unit that leans can cause water to miss the intended channel. If placing a thin shim under one corner reduces or stops the leak, leveling was part of the problem.
Normal Behavior vs Real Problem
Normal: steady water accumulation in the bucket or visible drainage at the hose end; no standing water under the unit; occasional small droplets near the drain end if the hose is recently disconnected and reconnected.
Normal: more water produced on humid days or when doors are opened to damp spaces; longer runtime after storms or seasonal transitions.
Problem: any recurring floor puddle under or beside the dehumidifier, especially if it appears during long runs. Condensate belongs in the bucket or drain, not on finished flooring or slab.
Problem: bucket is not filling but the floor is wet. That almost always indicates the water is not reaching the bucket due to misalignment, internal overflow, or a drain port issue.
Problem: dripping from the rear fitting or wetness concentrated at the connection point. That indicates a fitting leak or hose backup.
Problem: musty odor increases and humidity readings do not improve. That suggests the unit is creating water but the space is being re-wetted, reducing comfort gains.
When Professional Service Is Needed
Leak persists after hose routing is corrected and bucket is confirmed seated
If you have continuous downhill drainage, visible water at the drain end, and the unit still leaks, internal pan or tray issues are likely.
Evidence of coil icing or repeated sudden puddles after cycling
If you see frost on the coil area or the unit repeatedly floods after a melt period, the underlying airflow or control issue needs proper diagnosis.
Water appears inside electrical areas or the unit trips power
Any sign of electrical interruption, unusual buzzing, or repeated shutdown associated with wetness is a stop-and-service condition.
Comfort impact is escalating
If indoor humidity stays high, odors increase, or you are drying the floor daily, the moisture load is outrunning removal due to drainage failure or performance decline that needs corrective work.
Unit was recently tipped, dropped, or transported and leakage began immediately afterward
Shifted internal channels, cracked fittings, or a displaced collection pan are common after handling events and typically require disassembly.
How to Prevent This in the Future
Keep the drain path simple and downhill
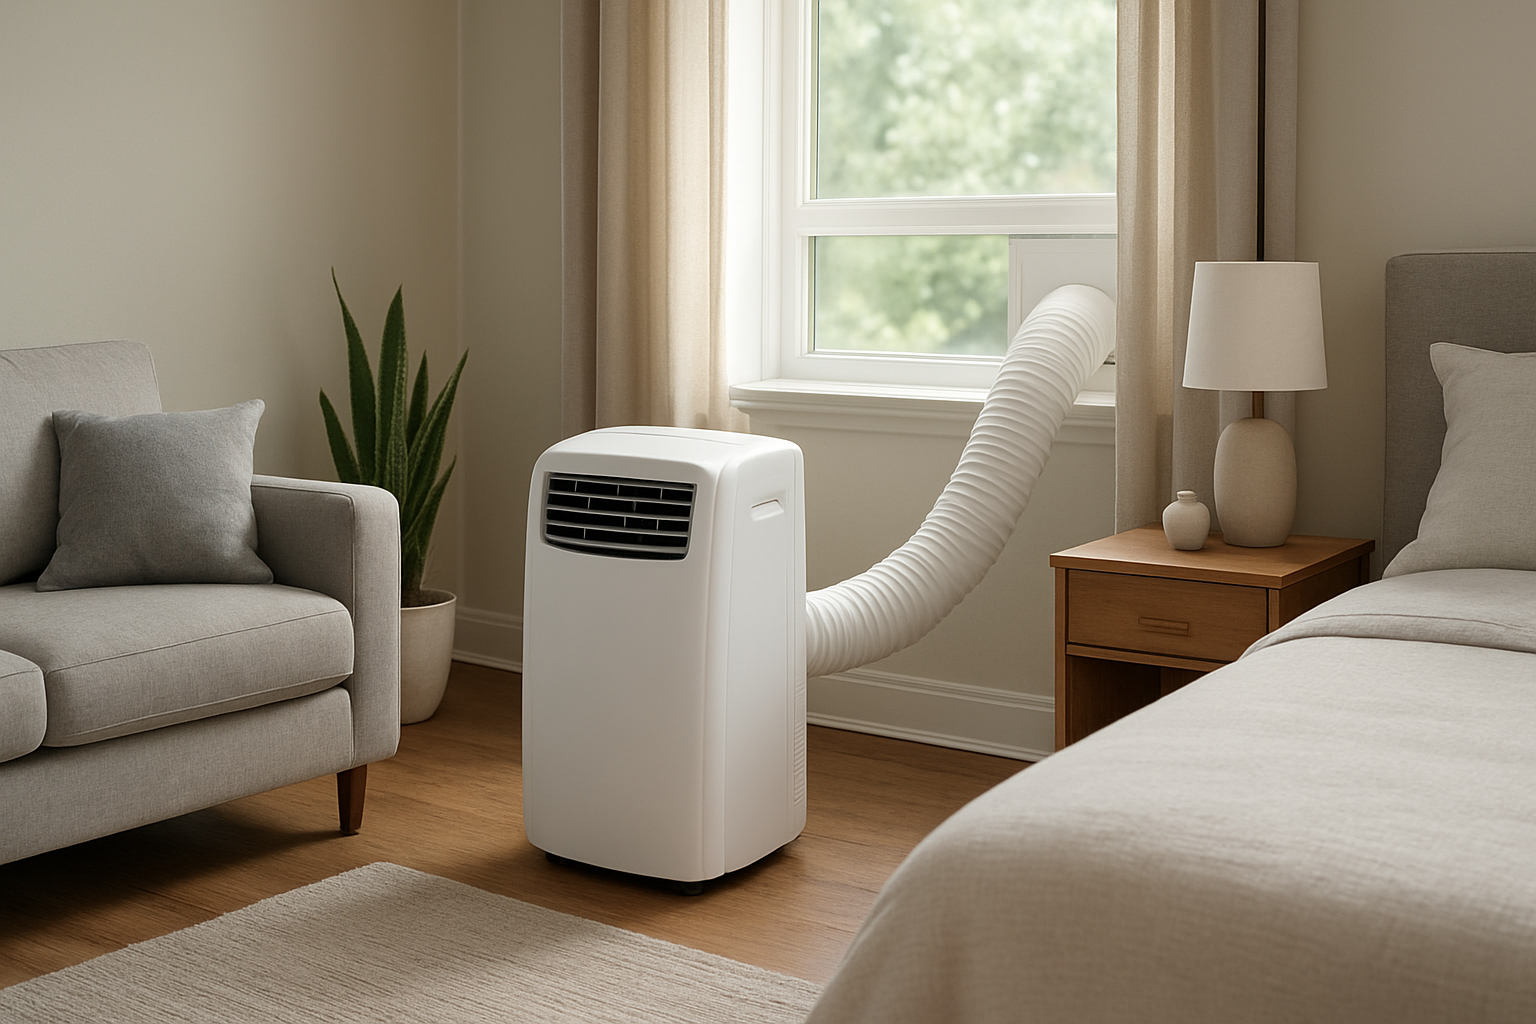
Route the hose with continuous slope to a floor drain or sump. Avoid long horizontal runs, sags, and tight bends behind the unit.
Inspect the hose monthly during high-humidity seasons
Look for slime buildup, crushed sections, or fittings that loosen from vibration. Early restriction shows up as slower dripping at the drain end.
Maintain airflow to avoid icing and surge meltwater
Clean or replace the dehumidifier filter on schedule and keep the intake clear. Stable airflow keeps coil temperature stable and drainage predictable.
Keep the unit level and stable
Place it on a flat surface so condensate reliably reaches the channel. If the floor is uneven, stabilize the unit rather than letting it rock.
Use a secondary containment if the area is sensitive
In finished basements, place the unit in a shallow drain pan with a visible edge. It is not a fix for drainage failure, but it makes early leakage obvious before flooring is affected.
Related Home Comfort Symptoms
Basement still feels damp even though the dehumidifier runs constantly
Musty odor near the dehumidifier or along baseboards
Dehumidifier bucket never fills but humidity does not drop
Water around floor drain or sump area when dehumidifier is on
Dehumidifier ices up and later leaves a large puddle
Conclusion
A dehumidifier leak on the floor is most often a drain failure: the unit is producing condensate normally, but the drain hose, drain port, or bucket interface is restricting flow until it overflows. Use the leak location and timing to identify whether the backup is in the hose routing, the drain connection, or the bucket/float area. Confirm by watching for actual water exit at the hose end and by finding the first wet point around the unit.
Frequently Asked Questions
Why does my dehumidifier leak only on very humid days?
High humidity increases condensate rate. A partially blocked hose, slight uphill run, or sag that is harmless at low flow becomes a bottleneck at high flow, so water level rises and overflows inside the unit.
My hose drains into a sink, but it still overflows. What should I check?
Check for an uphill section at the unit outlet, a sag that holds water, or a kink behind the unit. Also confirm the hose end is not submerged in water in the sink or trap area, which can slow drainage and cause backup.
Why is there water on the floor but the bucket is empty?
That usually means the condensate is not reaching the bucket due to mis-seating, a displaced internal channel, or overflow at the drain port area. Dry the unit base, restart, and identify whether the first wet point is at the bucket opening or at the rear drain fitting.
Can a dirty filter cause leaking?
Indirectly, yes. Restricted airflow can make the coil colder, increasing icing risk. When ice melts, it can release a surge of water that overwhelms a partially restricted drain path and spills onto the floor.
Should I keep running the dehumidifier if it is leaking?
If the leak is small and clearly from a hose routing issue you can immediately correct, you can retest under observation. If water is reaching electrical areas, the unit is shutting off unexpectedly, or the leak persists after correcting hose slope and bucket seating, stop using it and schedule service.
Need a complete overview? Visit the full troubleshooting guide here: Read the full guide for more causes and fixes.
That slow drip on the floor can feel like the whole day is quietly being ruined, even when you’ve moved on to bigger things. But when everything lines up the way it’s supposed to, the room just… behaves. Peace returns in the most boring, satisfying way.
There’s a particular relief in watching things stay dry for a full stretch, no mop drama included. Water damage may be the scary headline, yet most of the time it’s the little, stubborn moments that keep it front and center. Once handled, the problem fades into the background like it was never that big in the first place.